激光打靶
标签:DIY arduino 改装 乐高
邱奕盛 发布于 2017-11-06 17:21

找到一堆遗弃多年的乐高,想来个拯救计划
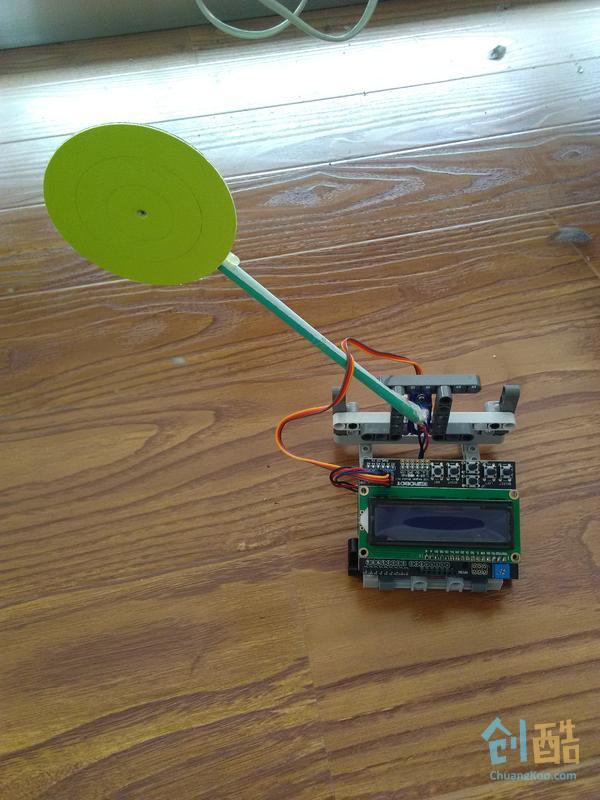
Step 1: 原理分析

当激光到靶心时,数字记分牌+1,靶改变角度等待下一次射击
我们需要:
乐高
arduino主板
舵机
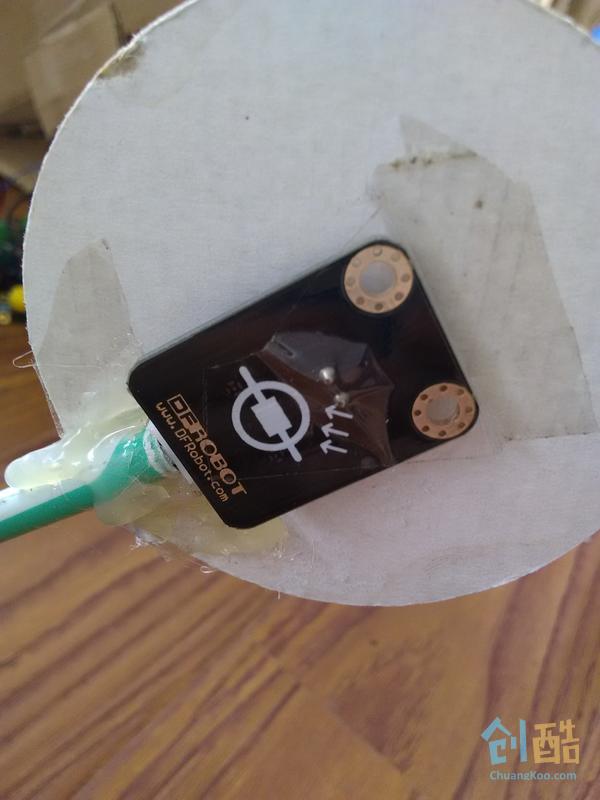
光线传感器
显示屏
纸板
吸管
热熔胶枪及胶棒
Step 2: 安装
Step 3: 接线
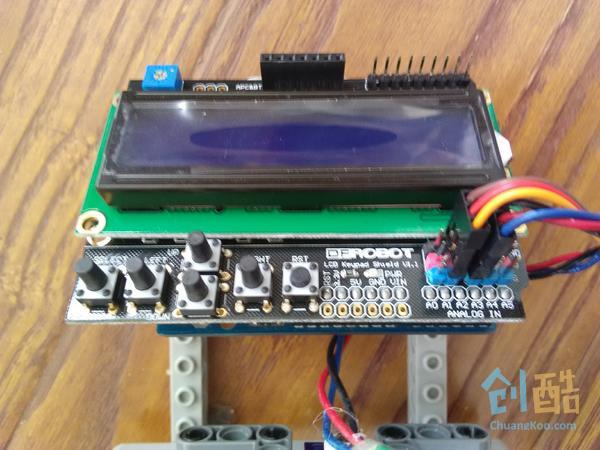
可以参照DFROBOT提供的信息
Step 4: 编程
这一次的编程涉及了舵机和显示器,较为复杂。
好在DFROBOT为我们提供了很多优秀的事例!
熟悉arduino IDE 的伙伴们可以很快学会!
Step 5: 禅定时刻


在创作过程中,调试是很重要的。当遇到困难时不要气馁,休息一会儿说不定会好一些!
Step 6: 欢迎关注【创客大招】

登录以发表评论
