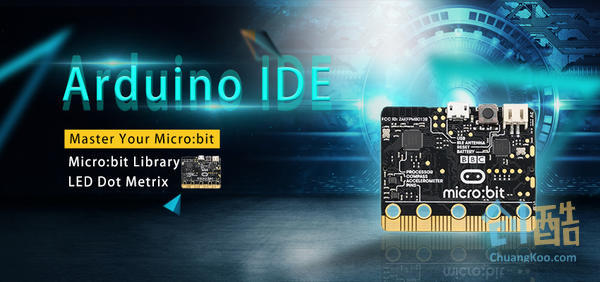
Master Your Micro:bit with Arduino IDE ——Micro:bit Library & LED Dot Metrix
标签:DIY
LUCY 发布于 2018-01-19 17:09

Once you want to get any more complex stuff going, you'll need a helper library to manage stuff like the internal temperature sensor, LED matrix, or Bluetooth connection.
To make it easier, we've written up a wrapper library that manages all this stuff for you.
You'll also need to install some helpers:
In the Arduino library manager, install the library:

In the Arduino library manager, install the library:

To use the LED matrix or Bluetooth connection, you will need to download from our github repository. You can do that by visiting the github repo and manually downloading or, easier, just click this button to download the zip: Download Adafruit Microbit Library.
Rename the uncompressed folder and check that the folder contains and
Place the library folder your folder.
You may need to create the subfolder if it's your first library. Restart the IDE.
Once you've re-started the Arduino IDE you should see the library examples appear in the menu.

LED matrix is a 25-LED multiplexed array. You can't just set the LED's on or off. They must be scanned through continuously to keep them lit. To make this easy for you, we've added support to the library - it even uses a timer (Timer 2) to manage all the multiplexing for you.
First up, install the Adafruit helper libraries.
Open up the matrixdemo sketch and upload it to your micro:bit.

The library manages all the refreshing, the drawing routines are all handled by Adafruit_GFX which we have documented in detail here:https://learn.adafruit.com/adafruit-gfx-graphics-library/.
Note that the screen is small, so even though the GFX library can do a lot, there's not a ton of space for complex shapes. We do have a small and simple font you can use that will fit in the 5-pixel-tall display, called .
[cceN_cpp theme="dawn"]
// setup font for later!
microbit.setFont(&TomThumb);
microbit.setTextWrap(false);
microbit.setTextColor(LED_ON);
[/cceN_cpp]
To scroll text you'll need to set the cursor 'outside' the 5x5 boundary, like so:
[cceN_cpp theme="dawn"]
// scroll some text
String myMessage = "HELLO WORLD";
for (int i = 5; i > (((int)myMessage.length()-1) * -5) ; i--) {
microbit.setCursor(i, 5);
microbit.clear();
microbit.print(myMessage);
delay(150);
}
[/cceN_cpp]
For bitmaps, the screen is 5x5 but to make the math easier on everyone, you can store bitmaps in 8-bit-wide structures and just ignore the right-most 3 bits in each 8-bit word:
[cceN_cpp theme="dawn"]
smile_bmp[] =
{ B00000000,
B01010000,
B00000000,
B10001000,
B01110000, };
[/cceN_cpp]
Note: This article is from https://www.adafruit.com.
Master Your Micro:bit with Arduino IDE ——Light LED
Master Your Micro:bit with Arduino IDE–Button and Other GPIO
Master Your Micro:bit with Arduino IDE —— Accelerometer & Magnetometer
https://www.elecfreaks.com/12114.html
在淘宝中搜索“恩孚电子”,你可以以最优惠的价格购买到英国原装正版micro:bit哦!
如果想联系我们,请发邮件至:louise@elecfreaks.com 。
作者的最新作品
-
按钮
2018-05-31 17:05发布
-
用micro:bit让面包板上的两颗LED交替闪烁
2018-05-31 17:01发布
-
抛煎饼游戏
2018-05-18 18:33发布
-
micro:bit跑迷宫游戏
2018-05-18 18:29发布
-
速算游戏
2018-05-18 18:25发布
阅读数: 5710


